Sign up for PayPal and start accepting credit card payments instantly.
Showing posts with label tips. Show all posts

Thursday, October 21, 2010

Low light photography tips

Trying to take a good photograph when you lack natural light can be easily solved with a flash and tripod. However, you’re not always going to be carrying a tripod around. And even with a flash, it can wash the subject out (like a plate of food), or be pretty much useless (when you’re trying to photograph a building at night). Hopefully, these five simple tips will help you take the perfect photograph in a low light environment without using a flash or tripod.

1.) Be very still

The key to low light photography is to remain as still as possible. When you don’t have a tripod present, there are simple tricks, for example:
  • Human tripod stances.
  • Take the photo while you slowly exhale as your body tends to be more relaxed.
  • Use other stable objects as a tripod, like tables, cups, chairs… Well, anything you can rest your camera on.
If your camera is rested on something, make you shoot with the self-timer on, even if you’re right next to the camera. This would minimize any movement, causing the photo to be blurred.
Image thanks to mickiky

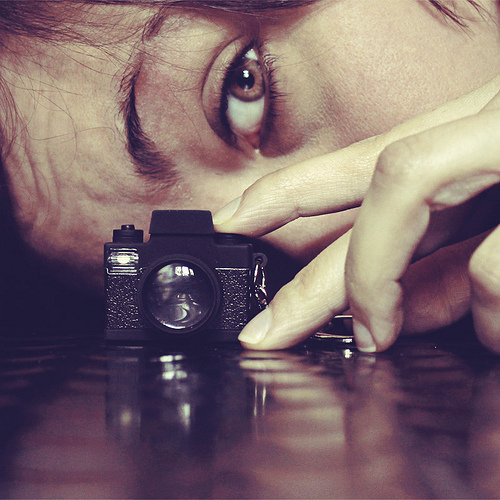
2.) Increase your ISO

The easiest way to shoot in low light without changing shutter speed or aperture settings, is to increase the ISO. If you have a dSLR, you can definitely crank up the ISO to 1600 without losing too much details. Usually the higher the ISO, the more noise that will appear on the photo. To give a grainy image an artistic flare, convert it to black and white, you’d be pleasantly surprised with the result.
Image thanks to kevindooley

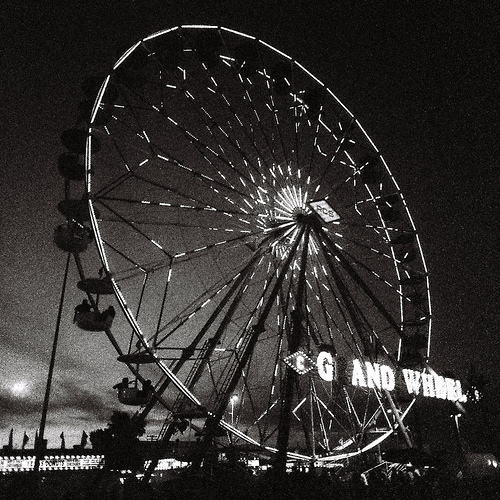
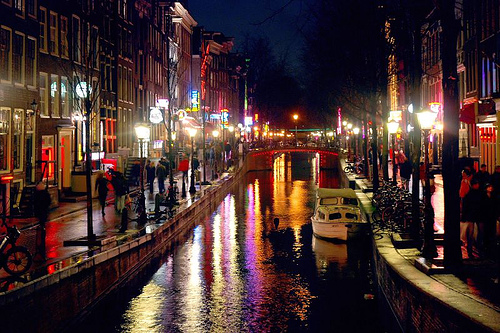
3.) Shoot in Aperture Priority Mode (Av)

If there’s a bit of ambient lighting and you’re using a fast lens, set your camera to a larger aperture (f1.4, f1.8, f2.0). Your camera will automatically determine the fastest shutter speed. Keep in mind that a larger aperture also means a more shallow depth of field.
Image thanks to purplemattfish

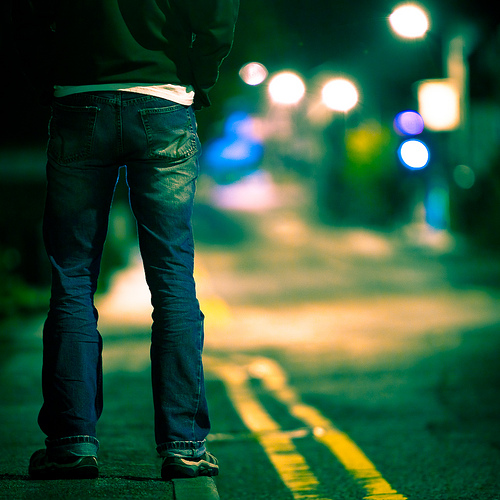
4.) Shoot in Shutter Priority Mode (Tv)

If you’re shooting at night with little or no lighting available, it might be better to switch from Av to Tv mode. You might realize that in Av mode, the shutter speed assigned might be too slow, even when you’re using the largest aperture available.
I would usually set the shutter speed to above 1/60 seconds if I’m walking around and taking quick candid shots. If I remain still, I can manage with a shutter speed of 1/30 seconds. Any slower and I find that I would probably have to use a tripod.
The photo is usually underexposed and needs to be touched up in a post-editing program like Photoshop or Lightroom.
Image thanks to MarcelGermain
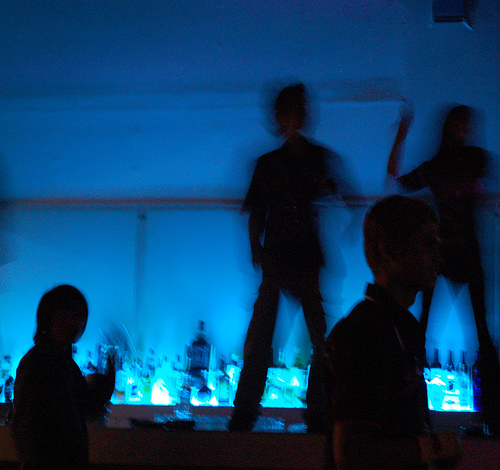
5.) Shoot in RAW

Don’t be scared to shoot in RAW. It does take up more memory space, but gives you more flexibility than JPEG when you need to tweak the photo later, especially when you have undesirable lighting conditions.

6.) Motion Blur Isn’t a Bad Thing

Your photos don’t have to be perfectly still every time. Embrace motion blurs or movement lines from an unsteady hand. See our motion blur post for some inspirations.
Image thanks to moriza

Friday, September 24, 2010

10 quick and easy tips to improve your photography

It’s a new week and I’ve got a new set of tips to improve your photography. This week’s tips focus on planning and decision making while taking your shots…. Eventually it will feel like second nature and you won’t even be aware of the process, until then… keep these tips in mind.

1. Daydream

Yes, that’s right keep dreaming about your shot. Pre-Visualize in your mind what it will look like and walk through the steps you need to take to get it. This is a shot I thought about for several weeks before finally setting it up and taking it. With only one camera, I often feel like I’m constantly juggling lenses!


2. Use wide lens

Try to use wide lenses for landscape shots when you want to create an impact of size. You can use a wide range of lenses to shoot landscapes but the vistas are amazing if you shoot with the widest lens possible because they give you a bigger angle of view.

3. Sharpen Your Subjects

 Keep your main subjects sharp. Sharp details in the image truly draw the viewers’ eyes towards the subject. Use your tripod in low light conditions to make sharp pictures. Try to make use of the new sharpening effect in Adobe Camera RAW. It does a great job and has improved from previous versions.

4. Keep it Clean

A background makes or breaks your shot so be sure to think carefully about the how you place your subject. Keep the background clean, simple and clutter free. Think about where the viewer should be focused….

5. You Can’t Have Too Many Clouds

Use fluffy white clouds on a blue sky to produce dramatic skies. Is it overcast with too many clouds to see the sky? The sky is now a giant soft box. This is the time to shoot portraits or waterfalls and streams with a motion blur effect


6. Behind Every Great Shot is the Sun
Stand with the sun at your back and the light of the sun falling on your subject. Unless you are making artistic pictures always try to keep the sun behind you.

7. Light Trails

Enhance your dawn and night urban shots with light trails. Use vehicles or any other moving lights to add interest, mood, and drama. Light trails almost always makes the shot interesting (learn: how to shoot light trails).

8. Silhouettes

The key is an uncluttered, lit background. Simply place your subject in the foreground so that you have clean, sharp lines and go for it. Play with placement and angles to make awesome silhouettes (learn: how to shoot Silhouettes).

9. Top to Bottom

Look straight up. Look straight down. Now examine everything in between. There are great shots from every vantage point, including an unexpected angle. Sometimes we focus so much on the obvious shot that we miss something special just a heartbeat away.

10. And finally… It’s a Camera not a Machine Gun
Unless you are taking action shots or a time lapse series, try to reduce the number of shots. Don’t just fire away hoping for something good to appear during editing. Think, move, and adjust your framing before you click the shutter. You’ll develop better instincts and save hours of time editing those hundreds of extra images.

Credit to http://www.slrlounge.com